
Illustrator
Illustrator is a tool that allows people to create drawings with different shapes, colors, and designs. Illustrator is similar to Photoshop where you can use multiple tools to create the drawings on a blank white canvas. It allows you to make raster or vector images in order to make your project. For our uses we can use illustrator to laser cut different materials or we can use the vinyl cutter. It is one of the most important software in the innovation center and I see myself using it a lot.
Laser Cutter
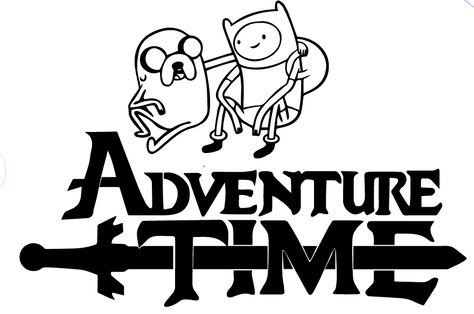
In class we used illustrator in order to create a design of whatever we wanted. For me I wanted to make one of my favorite childhood cartoon adventure time.
Now that I had my design I had to create the shape I wanted for the key chain, aka where I wanted the laser cutter to cut. For this we created a line with a .001 thickness with a red color. This tells the laser to cut right on that line.
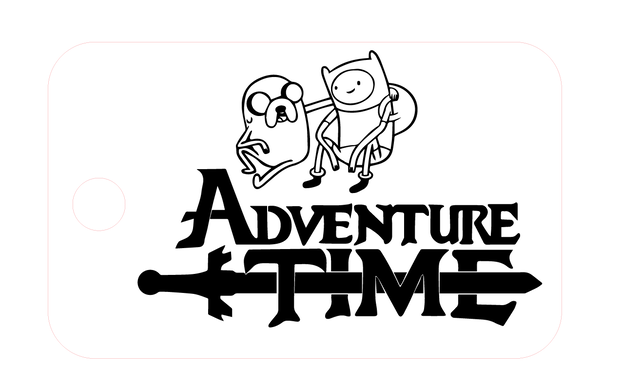
Then I had illustrator trace all of my lines as well as ignore all the white in the picture. Then I saved the picture to my H:drive and went to set it up in the laser cutter. I opened the file on the laptop and clicked file print, setup, and finally preferences.
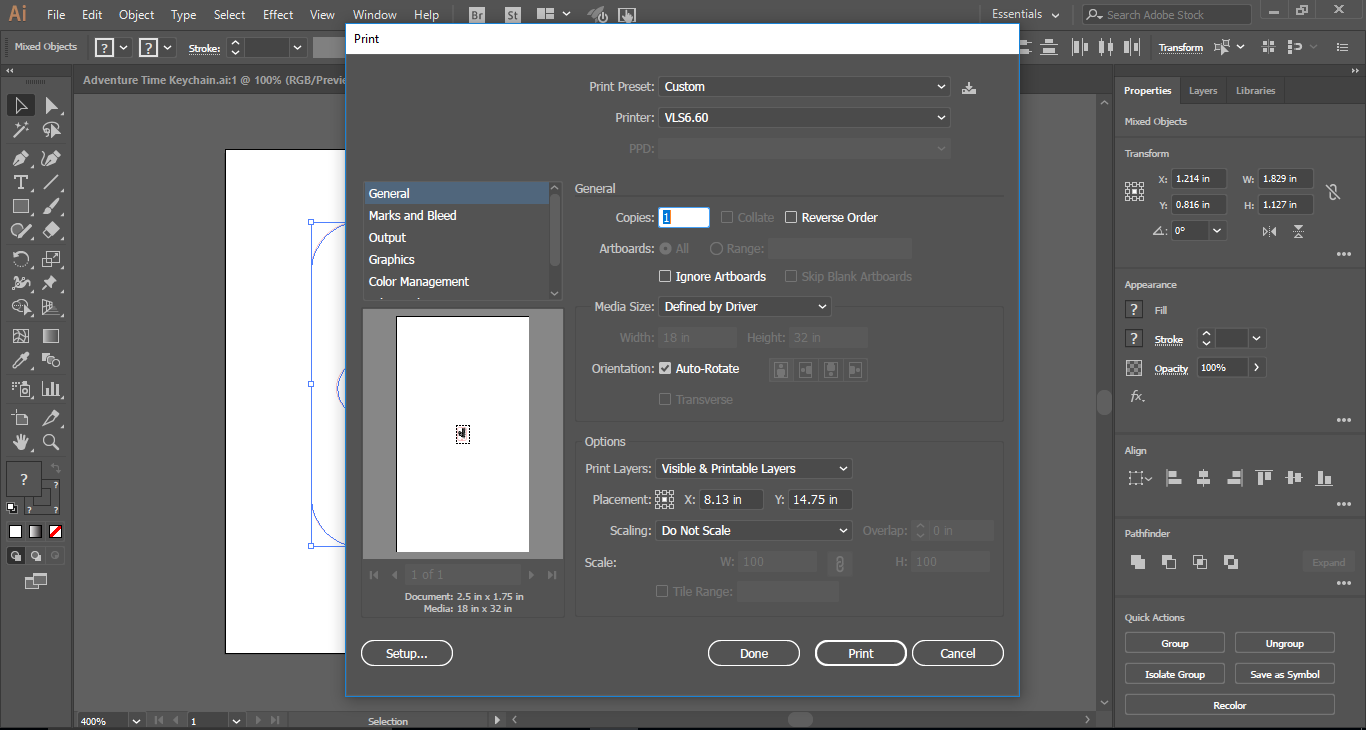
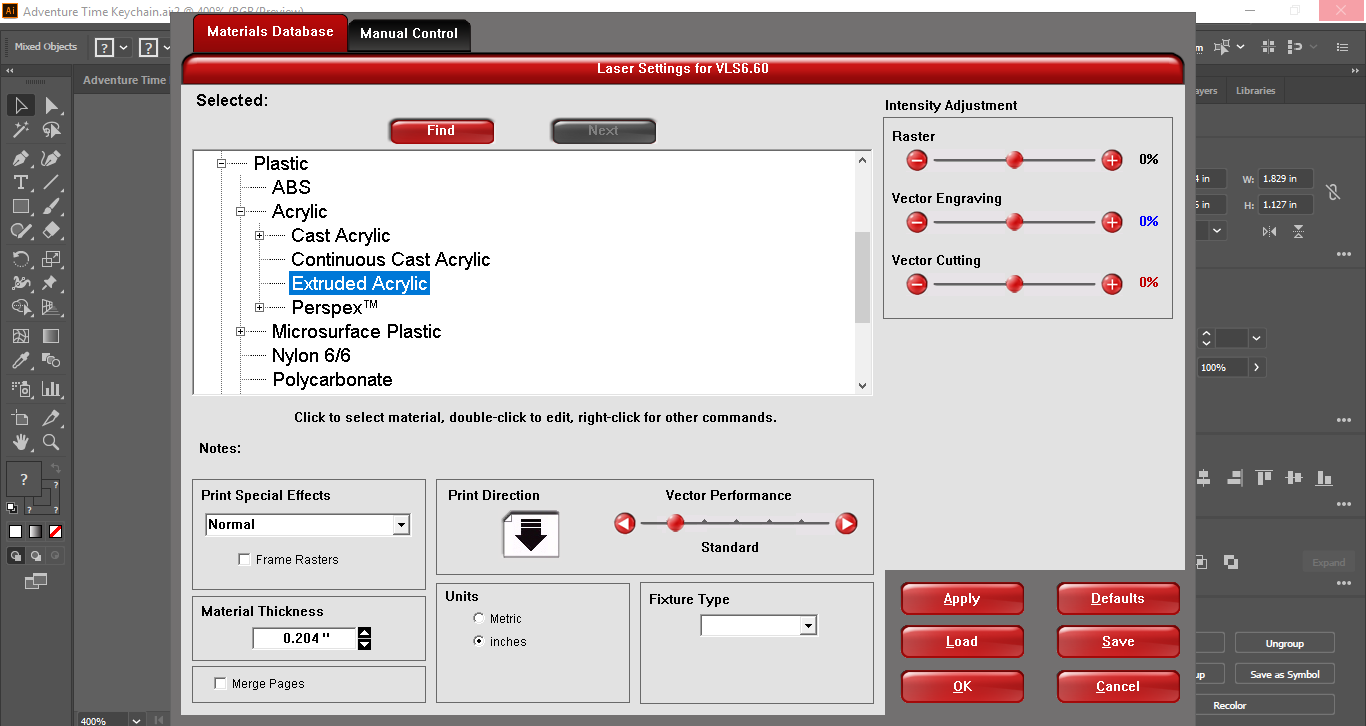
Then you get this menu where you select your material and you would use a digital caliper in order to get its thickness. From here you click ok, print, and print. Then you can close illustrator and open the UCP.

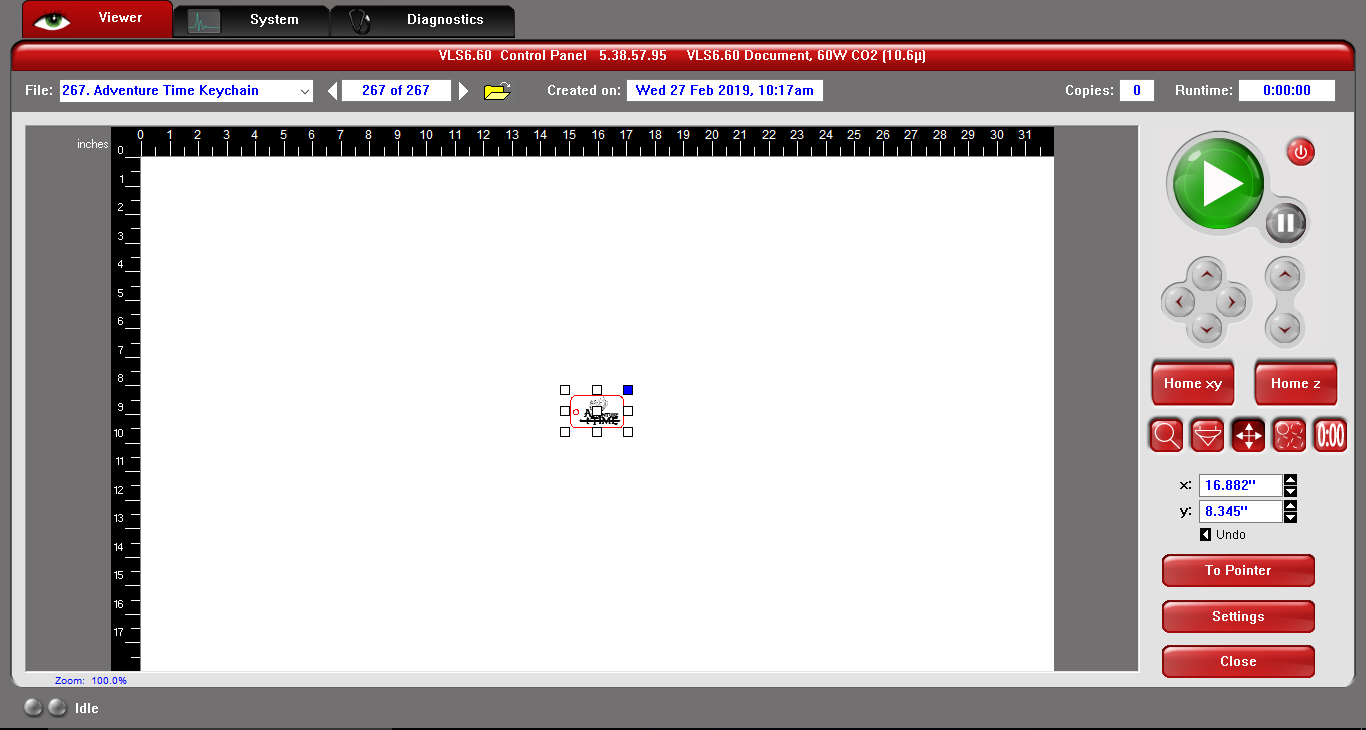
First you turn on the vent for the laser cutters and click the power button in the top right of the screen. Then you put your material in the 3D printer under the laser diode. Back into the application you click the move tool on the right side. Then you click the top right corner of your picture and click to pointer.
|

|
From there you go back to the laser button and click on all edges of your picture and make sure the laser diode is still on your material in the machine. If it is you know it is all lined up good. Then you click the big green button to start printing.

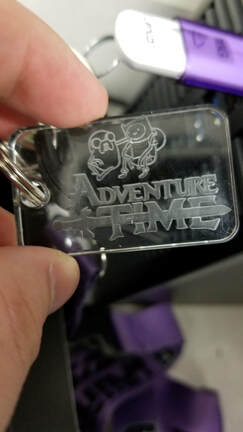
Then here was the final result of the project.
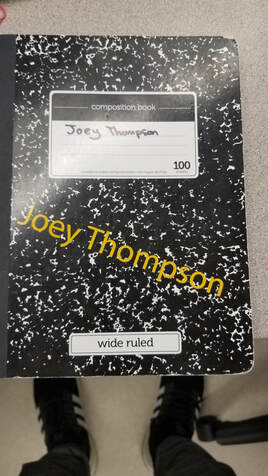
Next we used illustrator with the vinyl cutter, our goal was to make a decal of our name to put on our notebooks
The first thing we did was write our name on a illustrator canvas
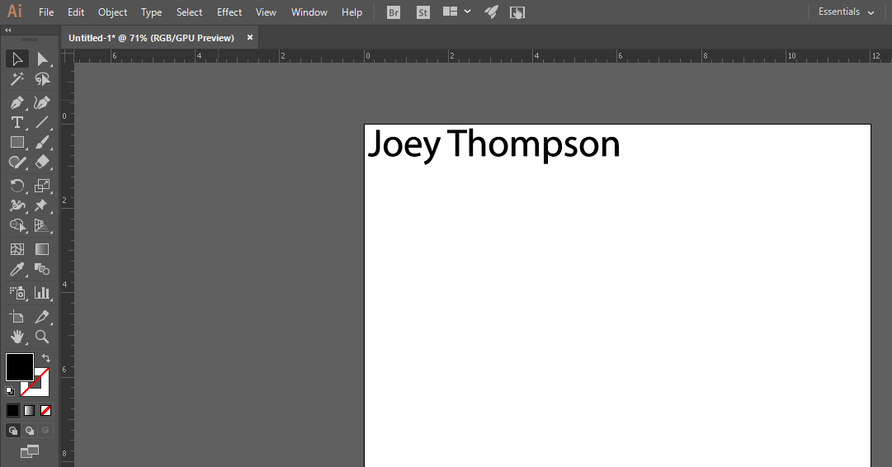
Then we made sure that illustrator created outlines of the letter for the vinyl cutter to cut by right clicking the text and clicking create outline.
|
|
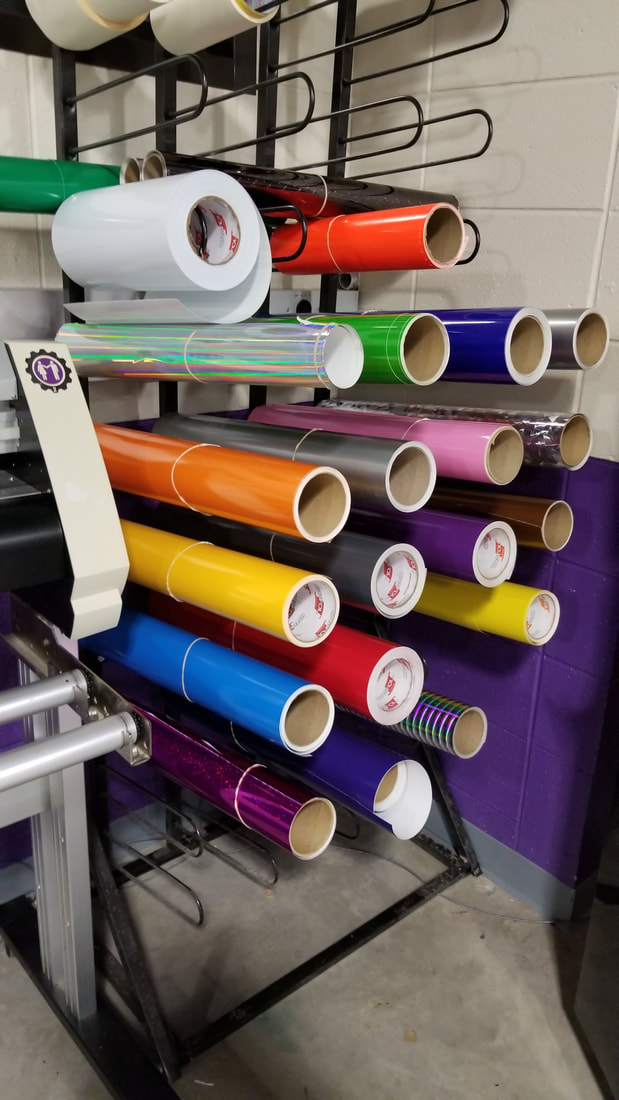
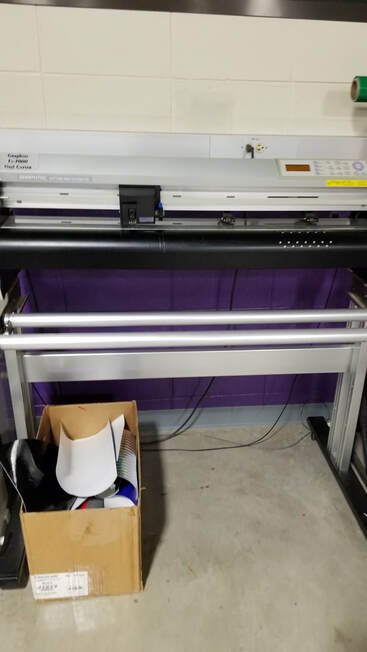
We then loaded the vinyl sheets into the vinyl cutter and let it measure it.
Then in illustrator we go to file, cutter master, and then cut plot.
Then in illustrator we go to file, cutter master, and then cut plot.
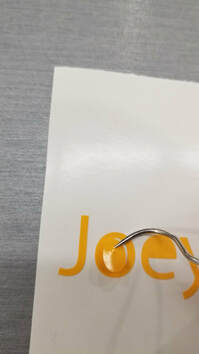
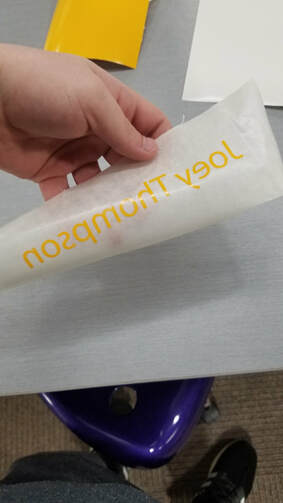
After we pulled out our vinyl we scrubbed the excess vinyl from around our decal
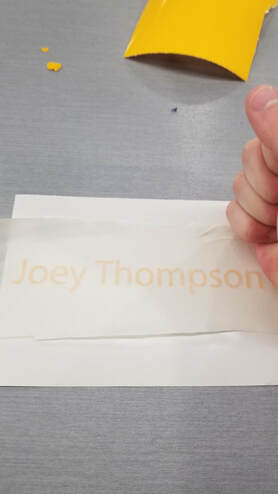
We then transferred the decal to transfer paper
|
|
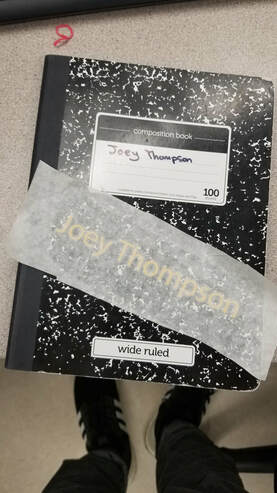
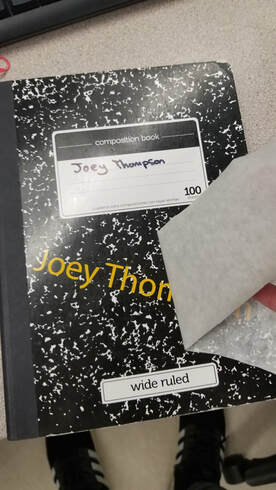
Then finally we transferred it to the notebook
|
|
In these two projects I learned how to use two important machines that I can see myself using and I also learned how to use illustrator which I didn't ever use before. I learned that to cut anything it must be a thin red line and the two machines are very similar when designing them on illustrator. An important thing to remember is that if it is suppose to be more than 1 color you have to take into account that the cutter can only do 1 color at a time so you must layer them.
